Monday, January 20, 2014

Registration Now Open: Copic Card Class Feb. 12, 2014 6-8pm

Join me, Shelly Maxwell, for class on Wednesday, February 12, 2014 from 6-8pm at The Scrapbooking Studio, Moline, IL Cost $20 Register by calling 309-736-7242.
 We will create five gorgeous cards using Graphic 45's line of papers "Sweet Sentiments" paired with tons of bloom, butterfly, and fairy stamps we will be coloring in class using Copic Markers. We will be reviewing basic color techniques during class.
 You will need to bring sharp pointy scissors, adhesive, pop dots, glue dots, Chestnut Roan brown cat eye ink pad to class.
 We will also be inking using Distress Ink in Peeled Paint and Peacock Feathers. I will have mine available to use in class. You may also use my Copic Markers if you would like.
The cards also feature wonderful ribbons and Prima flowers!
We will use the following markers in class: B32, B34, B00, B02, E01, E31, E33, BG32, BG34, BG72, BG75, G20 (this one is used a lot), G21, G24, Y32, Y35, Y38, BV02, BV04, V000, V01, V04, V09 (used just a littl bit), and clear blending pen. We will use Clear, Baby Blue, and Turquoise Spica glitter pens, and also Pearlized Top Coat from Smooch (you may use mine in class).

Tuesday, January 14, 2014

Valentine Projects with Echo Park's "Head Over Heels" Collection by Shelly Maxwell

 You will be able to create to your heart's content with this versatile line of double sided papers. The collection is HUGE and offers great inspiration including journaling size cards that can be used to embellish both the fronts and insides of cards.
The adorable 12x12 Element sticker sheet that accompanies this line of papers leaves the card possibilities really diverse-allowing you to go masculine, feminine, young and old with the card themes. 


 Your imagination will spark as it creates layouts with this "Head over Heels" collection. I want to share a non-traditional Valentine themed layout-but the papers seemed to fit the occasion here because my children do love to ride horses. I used a Tim Holtz Alterations Word Play die to help create the title on this layout and a Tim Holtz Alterations Vintage Lace border die to create the small border. 
 I also used the Tim Holtz Alterations Paper Rosette die to create this embellishment:
 I LOVED the "I love you to the moon" title from the Elements sheet and I was able to use it on my second layout celebrating the 60th Anniversary of my in-laws. This layout is a bit more masculine because it uses the arrow and fringed notebook border stickers paired with Tim Holtz Alteratons Mini Gears and Gears set along with Ranger Inkssentials Foil tape sheets (gears).
 I pop dotted a few of the gears to add a bit more dimension to the layout.

 The final Valentine project I would like to share with you is a wooden tray I assembled using a Kaiser product I glued together with Zip Dry and then painted with Art Anthology Sorbe Dimensional Gel Pain in Red Velvet. The gel paint creates a textured glittery surface and dries really fast. 
 I measured the sides of the tray both inside and out and covered with paper from the "Head over Heels" collection. I used my Xyron to place adhesive on papers and make the project come together really fast.
 I cut a few flourishes using the Ranger Inkssentials Foil tape sheets and Tim Holtz Alterations die "Mini Flourish" to place on the handles and around two of the corners. I also wrapped the base with a narrow black ribbon and added a bit of twine and one Maya Road Vintage posie to the handle.
Thanks for checking out my Valentine projects. You can purchase this line of papers, several of the dies and other products I've mentioned her by shopping online or at the store: The Scrapbooking Studio, Moline, IL

Tuesday, December 31, 2013

Copic Card Class: Valentines Jan. 15, 2014 6-8pm

Valentine Copic Marker Class:
January 15, 2014 6-8pm The Scrapbooking Studio-Moline, IL Register here.

During class we will be creating five cards for Valentine's Day: A heart flip card, a heart shaped card, and 3-D HoneyPOP card using Honeycomb paper from InkyAntics. We will also be creating a flower using Glubers and Honeycomb paper.


Don't miss out on all the fun!
Register today here or by calling Holly or Amy at The Scrapbooking Studio 309-736-7242
Wednesday, January 15, 2014 6-8pm at the Moline, IL location

Sunday, November 24, 2013

MME Vintage Christmas Design Team Layouts, Mini-Album, and Cards!

I would love to share some layouts, a mini-album and cards designed with MME's Vintage Christmas line of papers, stickers, dimensional stickers, tags, brads, and more (all available at The Scrapbooking Studio, Moline, IL):
 MME Vintage Christmas
 These 12x12 layouts (above and below) of my children Julianne an Charlie with our dog, Blake, went together quickly and look great thanks to the beautiful rich colors and easy to design with pages by MME.

 This super chunky mini-album feels great in your hands-it's wooden and from Kaiser. I used Washi tape around the edges and adhered the paper to the pages using a tape roller, then sanded the edges using the Tim Holtz sanding tool.
 Tiny jingle bells on the front cover give the album a layer of sound along with the visual layers created with dimensional stickers and ribbons.


 I die cut and matted with the same shape for some of the pictures.
 The diversity of the shapes and sizes of stickers that accompany this line of product allows the user lots and lots of choices for card fronts and insides. These two went to gether quickly with the inspiration from the papers, wooden buttons and washers, twine, ribbon, and brads.


Thanks for taking a peak and don't forget to stop by the online store or the Moline location of The Scrapbooking Studio to pick up all your Christmas goodies!

Sunday, October 27, 2013

Halloween Projects with Pebbles' Thirty One

When my October Design Team package arrived from The Scrapbooking Studio I was excited to find a huge stash of Goodies that included Pebbles' newest Halloween line of papers-Thirty One, several black and white polka dot bags and a whole bunch of other awesome things. Check it out:
 
 I created a Halloween mini-album with the small bags, my Bind-it-All, and Pebbles' newest Halloween line of papers-Thirty One.The front cover has a photo overlay from the Thirty One line, it works here as a see-threw mat. I liked layering it with the papers and tags from the line as well and thought the dimension it added to the front was eye-catching.
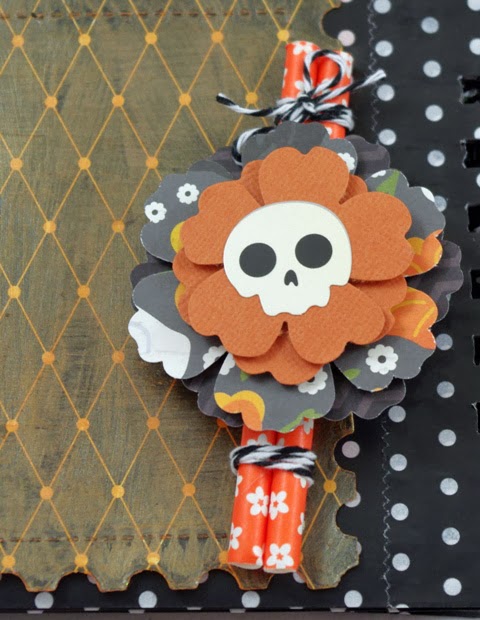
  In order to create this embellishment, I cut a decorative straw in half, bound it together with twine, punched several flowers, and added the skull from the sticker sheet for the center. The flower is attached with pop dots to the straw.

 Double sided papers gave me a huge amount of diversity as I created the pages of the album, I punched more flowers and leaves for this page's embellies.

 American Craft Thickers in "Spooky" provided the perfect "Boo" title for this page.
 
 I wanted to create contrast between some of the black and white papers and the black and white bags, so I painted a few of the papers (Basil is above and Tiger's Eye is below) with Art Anthologies Dimensional Paint. I used two coats.
 
I also created a few layouts with the Thirty One line:
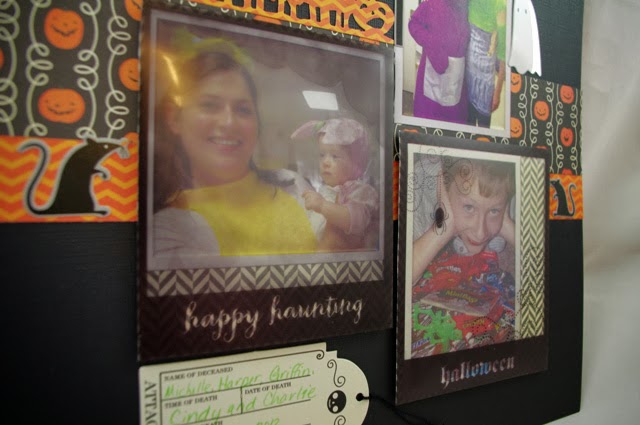
 In addition to the adorable stickers, photo overlays, tag and papers from Pebbles, I also used Tim Holtz's Alterations die Halloween Shadows.  I pop dotted two pictures using different thicknesses of pop dots for some dimension.
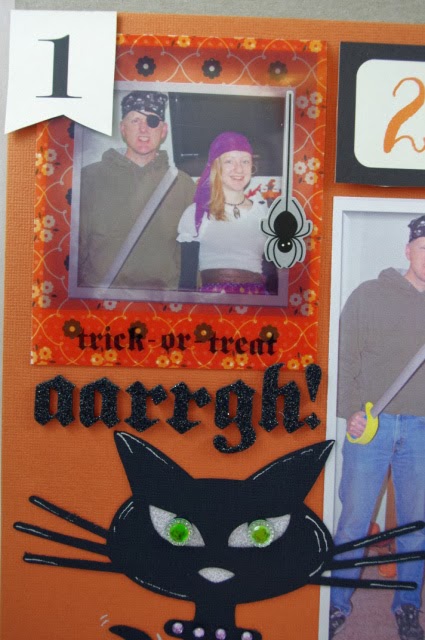
Here is the second layout. I again used a few of the overlays, some tags, and the Spooky American Craft Thickers for the "Aarrgh!"
The Scaredy Cat cartridge in the eClips die cutting machine cut the large black cat. I used green self-adhesive embellishments for the eyes

 Finally, I would like to share a few cards with you ....
 
 It was super fun using the eClips machine to create die cuts and a window card (below). The finished size of the window card is 4.75x4.75. I pop dotted the frame with small pop dots for extra dimension.
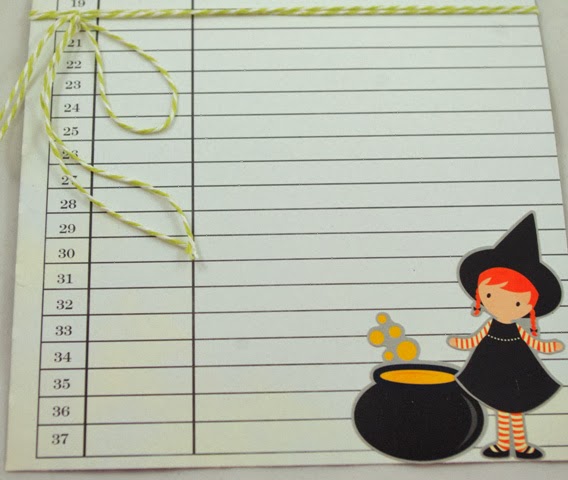
  Card Inside:

The stickers that accompany the Thirty One line are very cute! I used the witch hat on the die cut crow.


 Card Inside:
 The final card has a 4x6 photo overlay as part of the front decoration. Layered below the overlay is a tag, and on top of the overlay is a sticker with key, die cut candelabra, and skull sticker with diamond eyes.
 
Card Inside: