Friday, December 30, 2011

{Product Review} Sizzix Embossing Folders
Shelly here with a product review for Sizzix embossing folders. Sizzix embossing folders offer lots of options to your tool inventory. When creating layouts or cards I frequently want to add dimension while keeping my project relatively flat. During times like this I reach for embossing folders. I know that the textured impressions created with the folders offer the deepest and boldest textured look especially when I ink or paint over the embossed image. Cardmakers and scrapbookers can turn ordinary cardstock, paper, metallic foil or vellum into an embossed, textured project. Here are some examples of what I've created using Sizzix Dot Matrix and Grid Lock embossing folders and Bella Blvd. Making the Team papers & Ciao Chips self adhesive stickers.
Resized to 87% (was 752 x 600) - Click image to enlargePosted Image


Resized to 82% (was 800 x 531) - Click image to enlargePosted Image


Posted Image

Resized to 82% (was 800 x 565) - Click image to enlargePosted Image


Supplies
Sizzix Embossing Folders
Bella Blvd. Making the Team Paper & Ciao Chip
Ranger Sticky Back Canvas
Tim Holtz Idea-ology Kraft Glassine
Ribbon (stash)
Buttons (stash) 

{Non-Sketch Challenge} How has an animal touched or changed your life?


"Until one has loved an animal,  a part of one's soul remains unawakened." ~ Anatole France
Take time today or some day soon to create a tribute layout to your favorite fur ball whether it's a  cat, dog, horse, or any type of pet we just want to hear about it! Create a 12x12 layout expressing how an animal has touched or changed your life. Bella Blvd. Tail Waggers & Cat Naps is thepuuurfect choice for a fun loving themed layout. This line of double sided papers, and borders/blocks sheet have so many options that you'll be inspired as soon as you bring home the papers! Here's a layout I created of our family pet "LB" (beagle mix) using the Tail Waggers & Cat Naps line:
 
LB has been a big part of our lives for over 14 years. My husband and I adopted him from a shelter near Baraboo, WI about a year after we were married. He chewed his way through a lot of shoes & "unmentionables" and eventually into our hearts as well. We named him "LB" because he came from the pound and "LB" is an abbreviation for the word pound. His age is showing now and we continue to celebrate every day he is in our lives.

One way to warm up the layout is by using felt as a photo mat as shown in the above photo. I've also added wooden buttons that I inked and added twine to for an added masculine feel.
Here are some of my co-worker's furry friends. This layout will be going up in our staff restroom. Since I work at an elementary school during the day we sometime need a break from the children. It's really fun to see & guess which pet belongs to which employee. 
This will be a fun surprise for some folks at work.
I added some bling and dimension to the stars for additional interest. Bella Blvd.'s Tail Waggers & Cat Naps line of papers works great for these projects! Remember to take up this weeks challenges and create a 12x12 layout expressing how an animal has touched or changed your life. Post your creation in the Gallery!

Supplies
Twine: Twinery
Adhesive: glue dots & pop dots

Thursday, December 22, 2011


Shelly here, with a "Thank You" card making tutorial. I was thrilled when my Stamping Scrapping acrylic stamp set arrived a few weeks ago in my AWDML order---and the best part was that the stamps were designed to work with Spellbinder Nestabilies die sets!! It makes creating cards & embellishments EASY. You'll be able to create several cards in a short amount of time using these tools. 

But don't take my word for it-try it for yourself. Here's How:
1. Collect the following card making supplies to create 4-8 6x6" Thank-You's:
2. Create cards by scoring & folding 12x12 in half. Cut each folded piece in half creating two 6x6 cards. Continue until all cards have been folded and cut.
3. Cut mats from pattern paper 5.75 x 5.75". Ink edges of card mats if desired, use border punches along bottom edge (if desired) and adhere to card top.
4. Cut second mats from patterned paper 4.75 x 4.75". I used a die for this; but they could also just be cut square. Ink edges if desired and adhere to top of 1st mat.
5. Adhere border strip (from sticker sheet or punch a border with a border punch from coordinating patterned paper) along lower edge of card front. Mine range from 3/4" up to 1 1/4".
6. Use Stamping Scrapping stamps with black ink (Archival works great) on smooth white cardstock, then die cut around the stamped images with Spellbinders die. I used Beaded Circle Stamping Scrapping stamps & Beaded Circle Spellbinder Nestabilities die on this project.
7. Layer die cut images with small pop dots to front of card. I did a center design, lower right and upper left design layout-you can do the same with yours or keep them
all the same. Whatever you like best!
8. Use flowers or circular stickers in the center of the smallest die cut image.
9. Stamp the "Thank You" greeting once for each card you are creating (so you'll need 4-8 images). Punch or die cut stamped greeting with small oval punch or similar size punch or die. Create mat  for stamped greeting using a slightly large (but same shape) punch or die and adhere the stamped image to the mat.
10. Adhere the entire greeting to the front of the card using pop dots if desired.
11. Add ribbons: choose to either tie ribbon around top of card near fold and knot, tie ribbon in a bow and use glue dots to adhere to card front, or tie ribbon in a small bow and leave ends long and ripple along the card front holding in place with glue dots (as shown below).

Adhesive: Pop dotsGlue Dots
Thanks and have fun creating! More photos on my blog atwww.paperartbyshelly.blogspot.com
HINT: Double sided papers will allow many more choices for card mats!!

http://img.photobucket.com/albums/1003/lverburg/AWDML%20Photos/AWDMLSuppliesGraphic.gif
                      

Sunday, December 11, 2011

{Day 11} The 12 Days of Christmas at AWDML


Day 11 of “The Twelve Days of Christmas” Sale at AWDML is wonderful! Here’s why: My Favorite Things Die-naimcs Buy 2 get 1 50% off
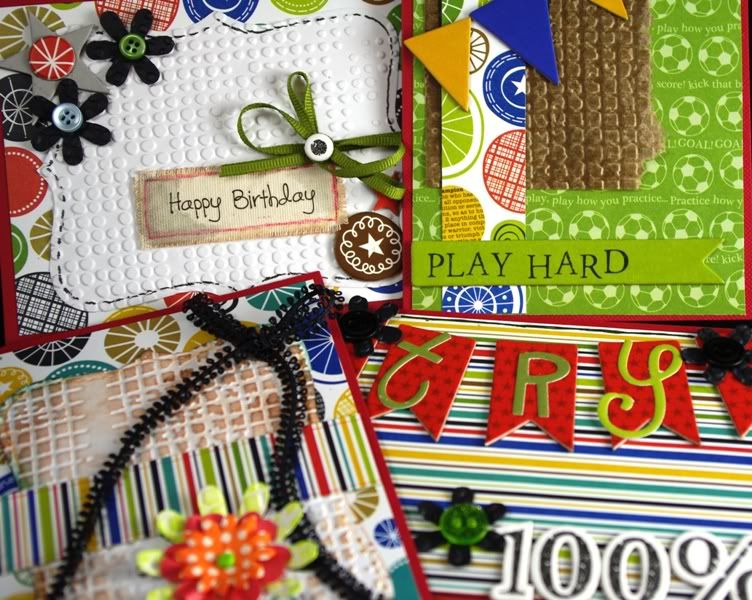
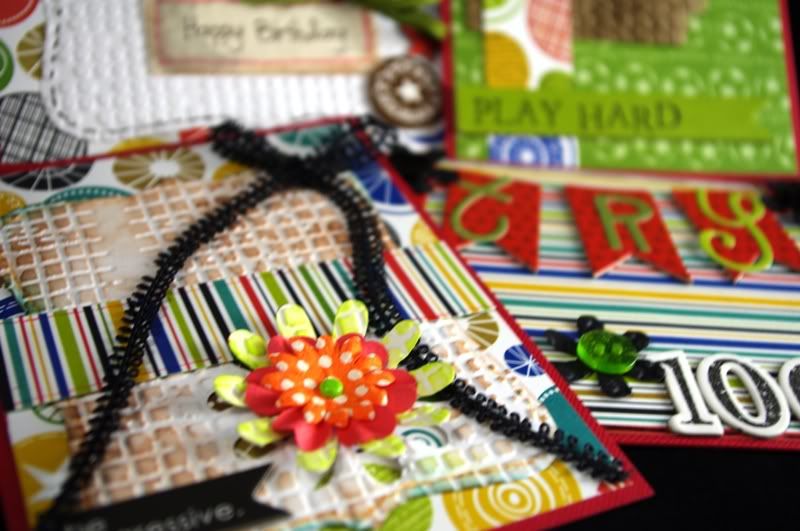
I recently started working in grade school and have several new co-workers! I want to give a few of them something special to celebrate the holidays and let them know how much I appreciate their help everyday. I decided to make one of them a set of Gift Tags. Here's a pic of the whole collection of five:
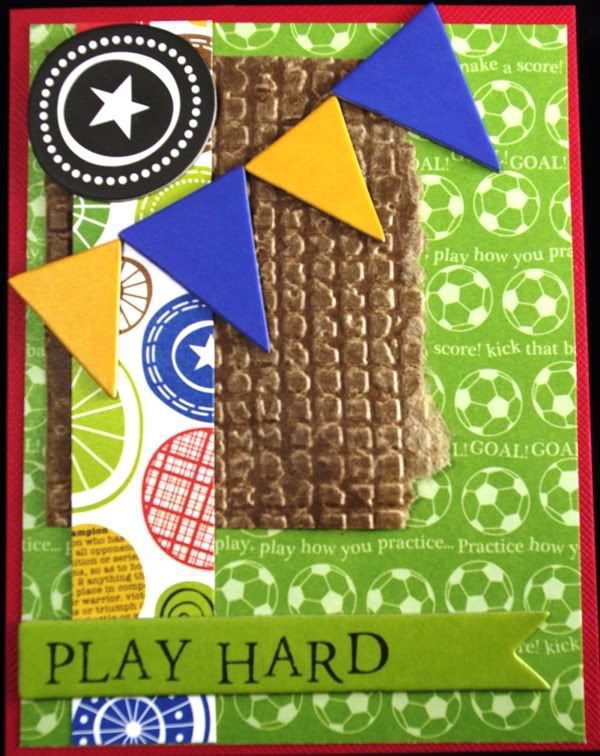
I used American Craft's Christmas papers for the printed papers, Bazzill paper for several of the tag bases, and "My Favorite Things" felt for most of the die cut images.
The tags were all started in the same basic way-with card stock:
I will use this round tag as an example of how to begin creating your own set of tags.
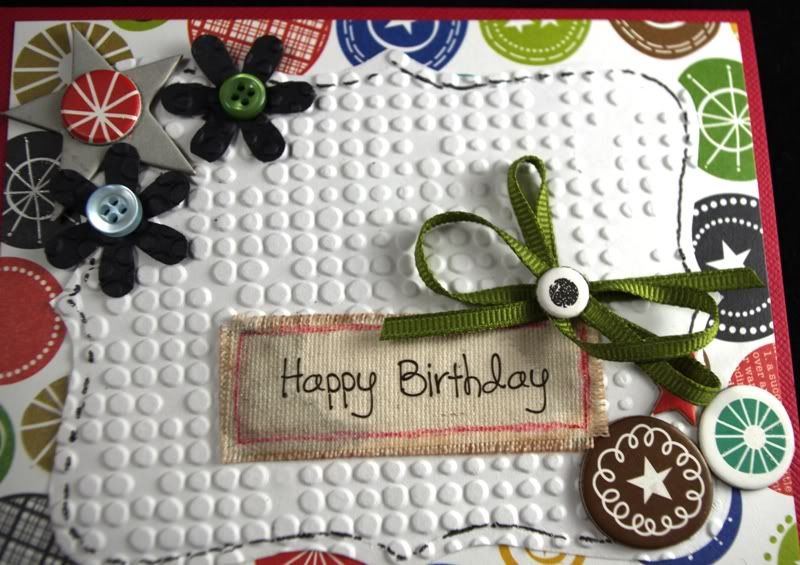
Step 1: Choose a die from your dies on hand or grab a new die from the AWDML website. Choose a base color of cardstock to use too and cut out the base shape. I like adding texture too-so I also embossed my die cut piece of cardstock with a Cuttlebug embossing folder. Ink the edges of the die cut piece with silver or gold for sparkle.
Step 2: Die cut some warm fuzzy felt! I used a blue piece of felt from My Favorite Things pack of felt I purchased online from the AWDML store. I used a Spellbinder die, an Accucut die, and a Sizzix die  and my Vagabond machine to cut the felt.
Step 3: Adhere the blue felt to the black base (I used glue dots). Layer another die cut piece on top of the larger felt die cut piece. Add a button (or similar bobble) to the top of the layers.
Step 4: Add color to felt piece that aren't the color you want them to be. I inked the white and blue felt with Ranger distress ink. Tie a knot out of twine and adhere to the button top. Place a grommet in the top of the tag & run matching twine to the grommet hole to complete the tag.
Step 5: Felt can be stamped on! I used a rubber acrylic stamp and Ranger Adirondack stamp pad on this tag's tree image stamped on white felt.
I used atyou Spica Glitter pens to add a touch of color and shading to the tree.
Be sure to add a bit of ribbon or a bow to each tag you create!
Step 6: Change the color of the felt to match your patterned paper! I used Tattered Angel's Glimmer Mist to change the white felt snowman to a grey/blue/silver snowman to match the paper. This snowman was cut with a Sizzix die. I used Ranger Stickles in the snowflake centers, pink & black gingham ribbon, black and white twine to add interest and dimension to the tag.
Remember to add dimension by embossing the card base, inking the felt just as you would paper, and use twine and ribbon to each tag!


May your holidays be filled with "JOY"!
Remember, you can place multiple orders during the 12 day period of “The Twelve Days of Christmas” sale. Just putting an item in your cart without checking out does not “save” it for you. So, your best bet to get what you want is to complete your order every day and AWDML will  combine your orders and ship on the 13th of December after the sale is over. Remember today’s sale is"My Favorite Things Die-niamics Buy 2 get 1 50% off". Have fun shopping!
Supplies:

Glitter: Ranger Stickles
Dies: Sizzix, Spellbinder, and Accucut
Embossing folders: Snowflakes

Monday, December 5, 2011

12 Days of Christmas {Day 5}

Day 5 of "The Twelve Days of Christmas" Sale at AWDML is awesome! Here's why:
If you purchase three Tattered Angel's Glimmer Mists you'll receive a Free Screen!!
I created a set of four cards using Tattered Angels Glimmer Mists, Graphic 45 papers, a mist screen, and several altered embellishments I created using the Glimmer Mist. Here's a peak at the whole set:
And here's a close-up of the cards:
I used Maya Road chipboard, a brown paper bag with black print, a Prima flower all altered with Glimmer mists. I tied the layered Maya Road pennant and used Distress Ink on the edges of the patterned paper.
I used a screen to create a background pattern with the Glimmer Mist on this Bazzill cardstock. Again, I used a brown paper bag die cut and misted for the flower and Maya Road chipboard snowflake all altered with the glimmer mist.
Glimmer Mist was used on white die cut crinoline, white silk seam binding bow,  Maya Road chipboard snowflake, and brown paper bag die cut flower to create the adornment in the upper left corner. 
Prima adhesive backed canvas, Prima flowers, white silk seam binding bow,  Maya Road chipboard snowflake, and brown paper bag die cut flower were all altered with Glimmer Mist on this card front. 

Each of the cards in this set have an inside pocket perfect for tucking in the family Christmas letter, a gift card, or additional greetings. The insides of some of the cards also were altered with the Glimmer Mist.

Thanks for taking a peak at my little gift! 
Remember, you can place multiple orders during the 12 day period of "The Twelve Days of Christmas" sale. Just putting an item in your cart without checking out does not "save" it for you. So, your best bet to get what you want is to complete your order every day and AWDML will  combine your orders and ship on the 13th of December after the sale is over. Remember today's sale:If you purchase three Tattered Angel's Glimmer Mists you'll receive a Free Screen! Have fun shopping.