Thursday, October 30, 2014

Authentique Spirited Collection with Shelly Maxwell

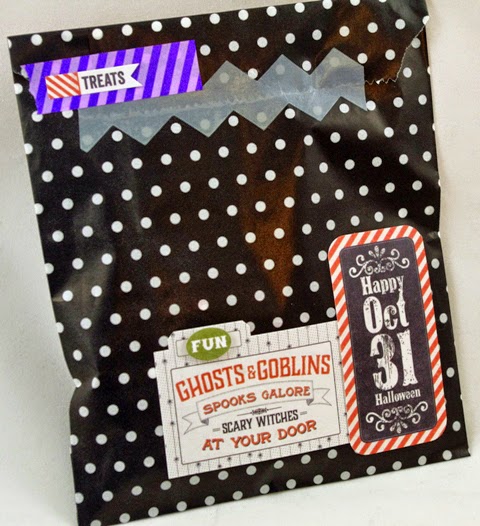
Halloween is all about the treats, right? 

Why not make them fancy with treat bags? 
Seal them up with tissue tape and a Halloween sticker greeting!
 Halloween Treat Bags
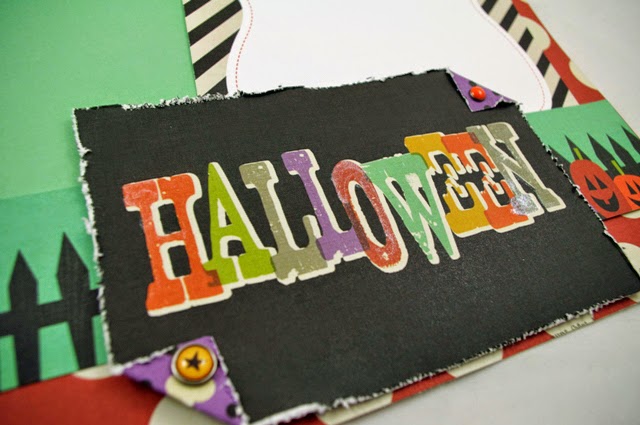
 Authentique's Spirited Line of papers is a solemn tribute to
 Halloween and all things creepy:


 Cut borders from "Labyrinth" (a two-sided cardstock weight paper) and layer, then pop dot for dimensional impact. Don't forget a spooky skeleton sticker and an enamel dot.
  These papers add maturity to the Halloween Holiday making them perfect for your teenage goblins (I have two-so I'll be stocking up!) 
Suspicious

 I loved using the orange hinge stickers to create a flap on the front of this A2 card. Plenty of stickers allow for inside decorations too!

This 6x6 chipboard mini-album came right together with spray adhesive, my crop-a-dile for punching holes and two green jump rings. I added a fluffy die cut paper flower and white tulle to the front of the card for dimension.


Grab these Halloween treats at The Scrapbooking Studio, 1623 5th Avenue, Moline IL or purchase them online at: www.thescrapbookingstudio.com. 309-736-7242

Wednesday, October 29, 2014

Simple Stories Frankie and Friends with Shelly Maxwell

 Simple Stories' Frankie and Friends is an full line of adorable Halloween papers, embellishments, and inspiration! I used a black Graphic 45 pocket mini-album to create this light hearted Halloween Mini-Album treat! Check out the sample in the store.
 Sizzix tag dies works great as a back drops especially with a matching brad, arrow stickers, and other sweet treats.
 There are enough brads on the sheet for every envelope flap plus tons more!
 Pop dot die-cut banner pieces and fussy cut icons to create dimension:


This one page 12x12 layout features layers of 5x7 pieces cut from 12x12 papers from the collection along with a distressed title piece held in place with brads.


The second layout created from this collection includes an adorable popped-up jack-o-lantern, title pieces cut from the borders paper and tissue tape:

Use a white chalk pen around the edges of black cardstock, then use a black pen to create faux stitches around the outside border of the paper.
 Slid a few punched banner pieces under one corner to create a festive feel on the card:
Create spooky eyes with tiny enamel dots placed on printed paper:
Grab all of these treats at The Scrapbooking Studio, Moline, IL! Shop on-line: www.thescrapbookingstudio.com or in person at 1623 5th Avenue, Moline, IL 
309-736-7242

Tuesday, October 28, 2014

Copic Christmas Card Class-Wednesday, Nov. 5, 2014 6-8 PM

Join me, Shelly Maxwell, at
 The Scrapbooking Studio: 1623 5th Avenue, Moline, IL on
 Wednesday, Nov. 5, 2014 from 6-8PM 
to create five Christmas Cards and
 one adorable muslin bag using
 Copic and Spica Markers.
Cost/$20
 We will be using Clear Rock Candy glitter and glue pens along with Copic to create this Card:
 The newest tag and Holiday Words: Block from Sizzix and Tim Holtz Alterations, and Stampendous stamps to create this card:
 Inky Antics stamps and honeycomb papers to create this 3D ornament card:
 Stampendous stamp, SRM muslin sack and Copics to create this holiday gift bag featuring Copic White and snowman coloring techniques:
 Create this adorable tri-fold key hole card with dimensional die cut Penguin:
 Create this poinsettia themed card using SRM's small white doilies, gold paper, and more!
All of the fun starts at 6pm on Wednesday, November 5, 2014. You'll want to reserve your spot as the Christmas Copic Card class usually sells out. Here are the class supplies you will need to bring with you: Your favorite tape runner adhesive along with large and small pop dots, glue dots, glue pen,  pointy scissors, Vintage Photo Distress Ink and Blending tool, Metallic silver pen. We will be using the following Spica Pens in class: Silver, Olive, Mint, Melon, Turquoise, Gold, Lipstick, Orange, Sand. Please bring the following Copic Markers to class with you if you own them: R02, R05, R30, R35, R39, YG61, YG67, YG91, YG95, YG97, YG99, Y00, Y02, Y08, W1, W3, Y28, C0, C2, C5, Black, Colorless Blender, E00, E02, E11, E13, E15, E19, T1, T3, T5, G82, G85. If you don't have all of these Copic or Spica markers, you may borrow mine during class. All kits include instructions and color photos for the easiest assembly at home. 
Call to The Scrapbooking Studio to 
Register for Class: 309-736-7242

Monday, October 13, 2014

Distresss Marker Halloween Card Class} Wednesday, October 15, 2014 6-8PM

Create five Haunted Cards using Ranger's Distress Markers, the newest papers and stickers from Reminisce, and learn new techniques...
 We will be creating five A2 and larger sized cards during class, most pieces have already been cut for you!
 We will be focusing on coloring stamped images on different types of papers and using water color pens to blend the colors to create water colored effects, faux stitching effect, and more!


Please bring the following to class: a paper trimmer, pointy scissors for fussy cutting, adhesives (pop dots-thick and thin, glue dots,  and glue pen, Silver Spica glitter pen, Black and Burnt Sienna Cat Eye. Also, please bring the following Distress markers to class: Rusty Hinge, Pumice Stone, Dried Marigold, Seeless Preserves, Frayed Burlap, Vintage Photo, Wild Honey, Mustard Seed, Spun Sugar, Tea Dye, Forest Moss.
The Scrapbooking Studio, 1623 5th Avenue, Moline, IL 61265
Cost/Kit $18.00
Call 309-736-7242 
to make your reservations today!