Showing posts with label chipboard. Show all posts

Monday, June 23, 2014

Market Street Layout, Cards and Banner

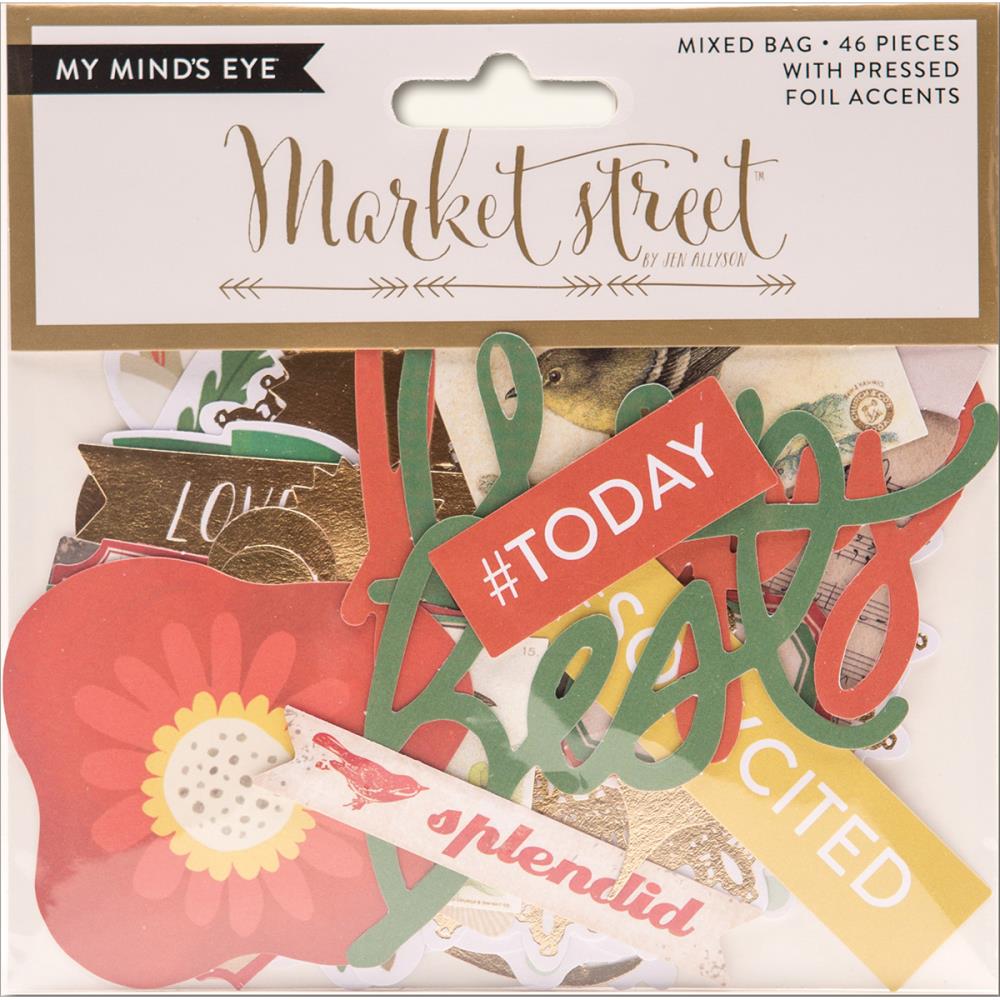
Summer has finally arrived and the Market Street papers, die cuts, foil papers, chipboard pieces, and buttons from My Mind's Eye are a great way to capture your warm sunny memories in the trendiest style. You can grab your entire summer stash at The Scrapbooking Studio in Moline, IL. This layout created with pictures from a 2010 Wisconsin trip came together elegantly and with all the current style thanks to MME's "Mixed Bag"-a 46 piece collection of die cuts, words, journaling spots, and really unique foil accents. In addition to the cursive words from the Mixed bag, I also used American Craft Thickers to create the title. (Emma in Gold). 
 Gold vellum paper is used as a photo mat coupled with a gold foil doily and...
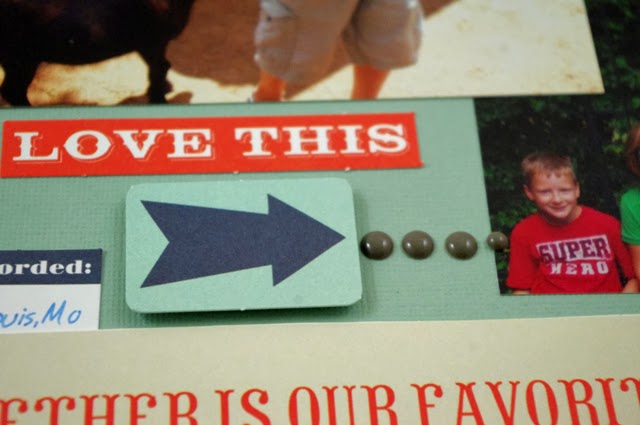
 heart sticker taken from the Nob Hill Label Stickers sheet.
 Chipboard pennant pieces create a tiny banner just below the title. Die cut flowers-popped with dimensional foam stickers give the layout a little bit of depth paired with a foil leaf and foil swirl to add balance to the right side of the layout. The floral background piece (1/2 on each page) was cut down to 11x11, corner punched with the weR Mini 8 Punch (Flourish), and cut in half to create the two background mats.
 The MME Market Street Nob Hill label stickers (70 pieces) offer great inspiration for cards:
 Check out the hippest mustache motif that runs through this entire line...
A moose with a mustache?
A wooden light bulb embellishment (Maya Road) colored with Distress Markers are the focal point of a foil, vellum and paper layered flower in the upper left corner of this card. It is perched on top of a wooden "Hello" frame from Freckled Fawn.
 This card base is a gorgeous black with gold polka dots that is very glamorous! I've folded back a corner of the mat and tucked a Maya Road pin (colored with Copic markers to match the paper line), wooden spool with paper wrapped around it, and tool for a dimensional accent. The bow, foil leaf, foil medallion, and music are all taken from the Mixed Bag that is part of the MME Market Street Collection. The doily is actually a piece of die cut Real Wood Thin Birch from Creative Imaginations colored to match with Copic markers.
 And the last card I wanted to share with you also features a bit of the Real Wood Thin Birch from Creative Imaginations-but his time I embossed it with an embossing folder. The "Thank You" is a sticker from the Nob Hill Sticker sheet.
 The Banner below features several pieces of the double sided papers from the Market Street Collection from MME, as well as their button (pins), chipboard buttons, Maya Road tiny clothespins, wooden light bulbs, Petaloo Flowers, doily die cut Real Wood Thin Birch from Creative Imaginations and colored with Distress Ink/blending tool, and lots more.
 The Maya Road wooden light bulbs take the Distress stains very well! The "learn" sticker stayed on even after the piece was stained.
 I love this button (and so did my kids) that is attached to the wooden doily I mentioned earlier in the post.
Thanks for spending a bit of your day checking out all that the MME Market Street Collection has to offer. You can pick all of this up at The Scrapbooking Studio, Moline, IL.


Saturday, February 15, 2014

"Family Stories" with Shelly Maxwell

The Family Stories line of embellishments and papers from Teresa Collins is HUGE and very versatile! Check out all of these card, mini-album and layout ideas you can create with all the goodies that are available at The Scrapbooking Studio in Moline, IL
All-occasion cards come alive with the Family Stories paper collection. The flower paper was used on the next two card fronts along with die cut paper for the flower along with Maya Road craft doily and rose flower center. The layers were pop-dotted for dimension. 
The "you and me" is from the Family Stories "Notecards" sheet along with this collection's enamel dots.
 The ribbon wrapped paper clip from Maya Road, decorative button for the flower's center and "Numbers" paper for the flower create a chic and trendy card for someone very special. The  Die Cut Accesories are used for the "love" and "together" and the "Noted" paper for the banner and people (card makers can fussy cut the people from the paper and use a glue pen to adhere border to the card front).
And the final card was created by embossing the cardstock with a wood grain embossing folder and inking it. I cut the "You and Me" journaling card and circle with people from the Die Cut Accessories sheet, added the two eyelets to the top and "hung" it on a Maya Road hanger with twine. The embellishment in the center of the card front are mounted to a bottle cap. Use glue dots to adhere it to the card front.
 And here is this cards inside:
Family photos from a 2011 trip to St.Louis, MO trip were used  with a hand made mini-album and Family Stories line of papers and embellishments to create the next project. Here's the cover:
I used black die cut chipboard for the covers and the Bind-it-All  spiral to hold the album together. My daughter made the beaded rings that are attached to the black spiral binding for added cover embellishment.
And here's a full frontal photo:
I added a small bag to the front cover and placed a black chipboard tag in it to hold a few additional photos and placed a journaling card to the front of the bag. 
 The pages of the book are made up of Family Stories "File Folders" and papers from the Family Stories line.

 I also used the Decorative buttons, and enamel dots throughout the album


Lastly, I would like to share two layouts:
I loved being able to add sequins (a hot new trend), pop-dotted arrows, buttons, chipboard pieces, and die cut accessories to this layout, along with some washi tape.


The second layout uses Die Cut Accessories, Decorative Buttons, and a border strip from the "Noted" paper. I used pop-dotted black cardstock circles in the four corners along with photo corners, and enamel dots to anchor the page.


Thanks for checking out my cards, mini-album and layouts created with supplies that are available at The Scrapbooking Studio online or in Moline, IL

Friday, April 26, 2013

{Cards} Bo-Bunny's "Isabella" Collection

Create these three gorgeous cards using Bo-Bunny's Isabella collection:
Pre-printed 6x6 pages maker PERFECT card starters!
 I used Inky Antic's Mother's day stamp to create this card along with chipboard pieces from the matching 12x12 Chipboard sheet (self-adhesive). 

A Sympathy card create with the collection as sophistication and beauty when paired with the Isabella pearls. 
 You can create all three of these cards in virtually no time at all when you grab a few sheets pre-printed 6x6 pages.
Chipboard embellishments like these two butterflies add dimension and interest ESPECIALLY when they have a little matching bling on them! You can check it all out at:

 1623 5th Avenue,
 Moline, IL 61265
 309-736-7242.

Friday, April 19, 2013

{Project} BoBunny's Isabella Collection

This project came together quickly for me due to the inspirational and whimsical nature of the three metal flower pieces from Maya Road. The flowers are attached to a black chipboard base, I used paper from the Isabella collection for the flower backgrounds coupled with inspirational stamped word pieces on punched labels (pop-dotted) for dramatic effect in each flower. 
Studio Calico Canvas butterflies are AWESOME and come with about a bazillion in one package-I used my  Copic Markers to color this smaller chipboard canvas butterfly in matching grey and pink tones and used the Bo-Bunny Isabella gems to enhance the butterfly even more.

 To create the center circle I added pink bling around the interior wall of the flower and also as the bow's center. I added a small chipboard butterfly from the 12 x 12 chipboard embellishment page from the Isabella collection.
And for the third and final flower embellishment I used a fussy cut butterfly on a pop-dot. I gently folded the butterfly's wings upward as if he is lifting right off of the flower. Photo corners at the bottom of the wall hanging give it a finished look. I used a border chipboard trim piece from the 12 x 12 chipboard piece across the top of the base of the piece and pink twill through holes at the upper corners tied in a bow allowing the piece to hang.
You can create this too-just stop by
 1623 5th Avenue,
 Moline, IL 61265
 309-736-7242


Friday, April 12, 2013

{Mini-Album} BoBunny's Isabella Collection

Create this elegant (and super easy) 4x6 mini-album using just a few papers from the BoBunny "Isabella" collection available NOW at
 1623 5th Avenue,
 Moline, IL 61265
 309-736-7242.
I used two BoBunny papers with pre-printed 4x6" mini-album pages, and my Bind-it-All to create this cute mini in no time at all (and very economically). It is the perfect spot to record summer vacation memories.
 I embellished several mini-album pages using the pieces from the 12 x 12 chipboard self-adhesive sheet, and some smaller journaling tags & fussy cut pieces left from scraps of the 12 x 12 papers.
I used my scalloped oval punch to use up some of my "extra" photos (see above) that I didn't use in my family's 12 x 12 album.
You can create this mini-album, too, buy stopping by The Scrapbooking Studio and grabbing a collection of papers & a sheet of the chipboard self-adhesive pieces.

Friday, April 5, 2013

{Layout} BoBunny's Isabella Collection

 Create beautifully elegant layouts using BoBunny's newest line of papers and embellishments, "Isabella" designed with butterfly, floral and lace motifs. This collection offers diversity and great compatibility due to the muted grey and cream undertones throughout the pieces. It really allows virtually any color pictures (or black and white pics) to match with the background papers.
 I coupled Inky Antic's saying stamp with fussy cut journaling tags and paper embellishments to create three layers of butterflies, lace, and interest.
 The matching 12 x 12 chipboard sheet is self-adhesive and contains numerous sized pieces to work with including butterflies & swirls.
I love the touch of yellow that was added to some of the butterflies! Stop by The Scrapbooking Studio, 1623 5th Avenue, Moline, IL 61265 to grab the entire collection. You'll want every piece. :)