 Step 1: Select several pieces for your project. I am using Maya Road's chipboard and wooden snowflake pieces.
Step 2: Add color to the pieces using Tattered Angel's glimmer mist (Santa Baby), Distress Ink (Peeled Paint), and/or Rangers Paint Daubers (Snow Cap), or Clearsnap cat eye ink pads.

Step 3: Use a heat tool to set the ink/paint onto the pieces.

Step 4: Add glitter to a few of the pieces by running them upside down (good side down)through a Xyron.

Step 5: Sprinkle glitter over the sticky painted side of the pieces.

Step 6: Use glue dots to adhere chipboard or wooden pieces to your layout, card or art project...

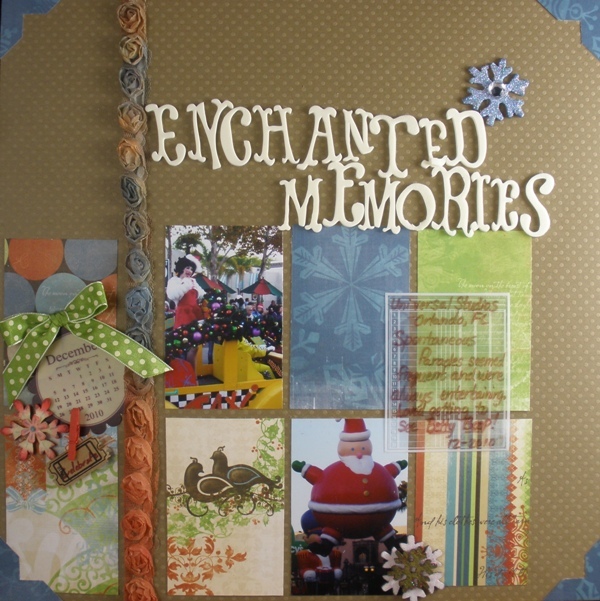
I used BoBunny's Blitzen line of papers to create this layout along with my wooden and chipboard pieces I altered.

Supplies
Patterned Paper: BoBunny Blitzen
Embellishements: Maya Road Snowflake chipboard and wooden pieces
Paints/Ink: Ranger Distress Ink, Ranger Paint Daubers, Cat Eye Inks, Tattered Angels Glimmer Mist
Adhesive: Glue Dots
Ribbon: Maya Road
Title Stickers: American Craft Thickers
No comments:
Post a Comment