Have you seen colored stamped images that made you ask, "Wow, how did they do that?" Most likely the designer used Copic markers to color in their stamped images. Shelly here with some basic tips on how to color using Copic markers. It is important to practice this technique several times until you are feeling confident about your capabilities and then try it on your final stamped image. Here we go...
1. Choose your stamp. I look for open designs to use with Copic markers. Paper Smooches works great!

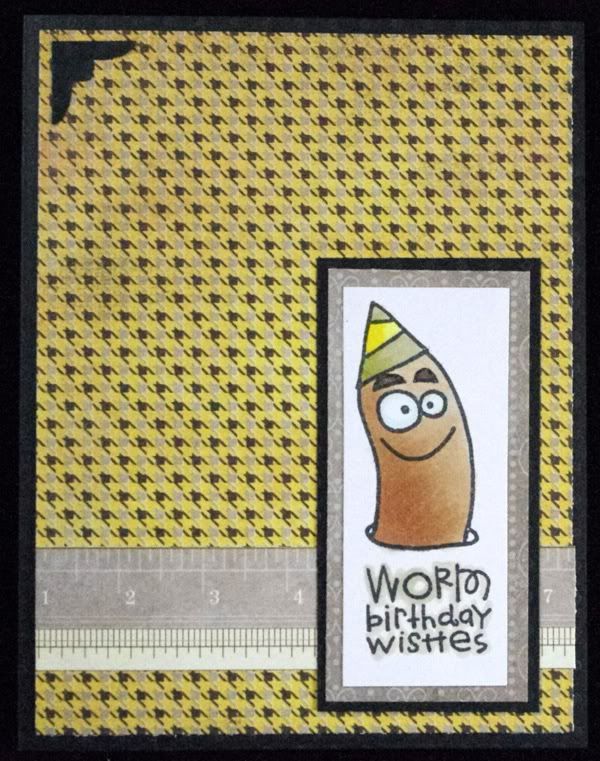
I am going to choose the worm along with the "Worm birthday wishes" stamped greeting for my image.
2. Next, select your Copic marker colors. Choose colors from the same family to create a nice blended look. I am going to use E31, E33, and E35 to color the main part of the worm's body. These are earth tones (E) containing the same intensity level "3" (Center #) and they step up in brightness (last #, here it is 1, 3, 5. 1 is the lightest color).
3. Make sure you've chosen the correct type of paper to stamp your images on using Momento or Distress Ink. This is important when creating good images that won't smear or bleed.
4. I am using E31 first and coloring left to right using a circular motion. I am using the brush tip, bending it at the tip. Keep the outer edges wet to avoid streaks.
Resized to 82% (was 800 x 531) - Click image to enlarge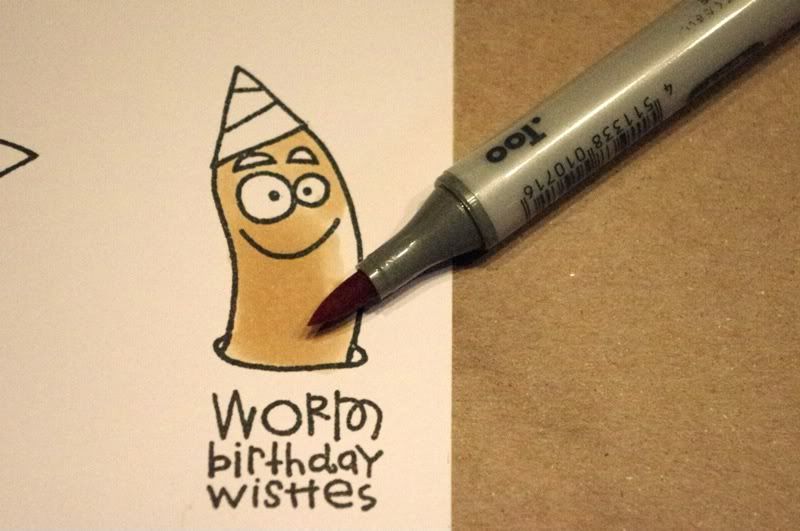
5. While this first color (base color) is still wet, add E33 to the left side. Lift up at the end of each stroke, leaving more ink on the left side and less on the right to create a shadow.
Resized to 82% (was 800 x 531) - Click image to enlarge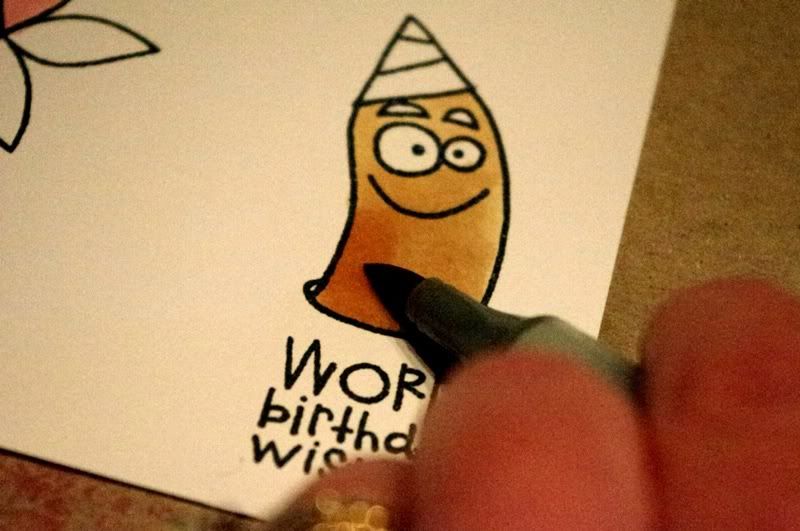
6. Using the E31 Copic again, go back over the top of the E33 color using circular strokes again, mixing the two colors together and hopefully removing any rough edges.
Resized to 82% (was 800 x 531) - Click image to enlarge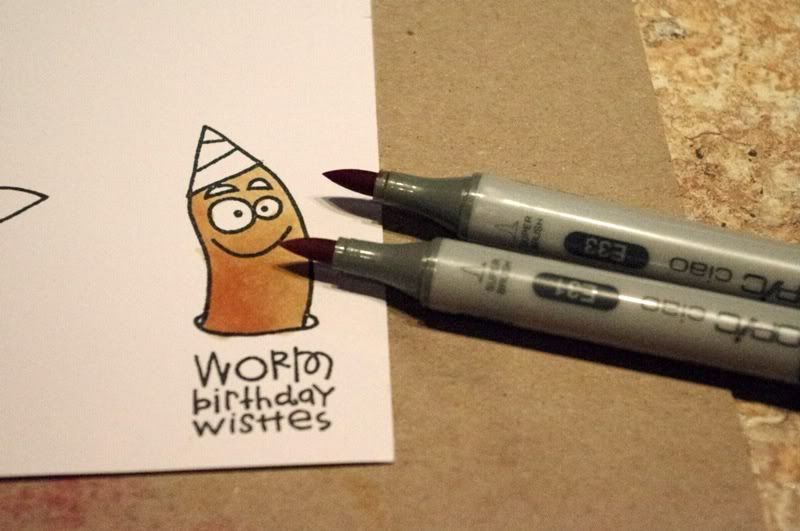
7. If necessary repeat steps 4-6 until your blended colors are even and there is no streaking or rough edges.
8. Adding the third color. Using the same technique as in #5 above, add # 35 on the left side of the image and lift up at the end of the stroke. Go back over the image with E33 to mix these two colors. Finish off the image with E31 all over the image.
Resized to 82% (was 800 x 531) - Click image to enlarge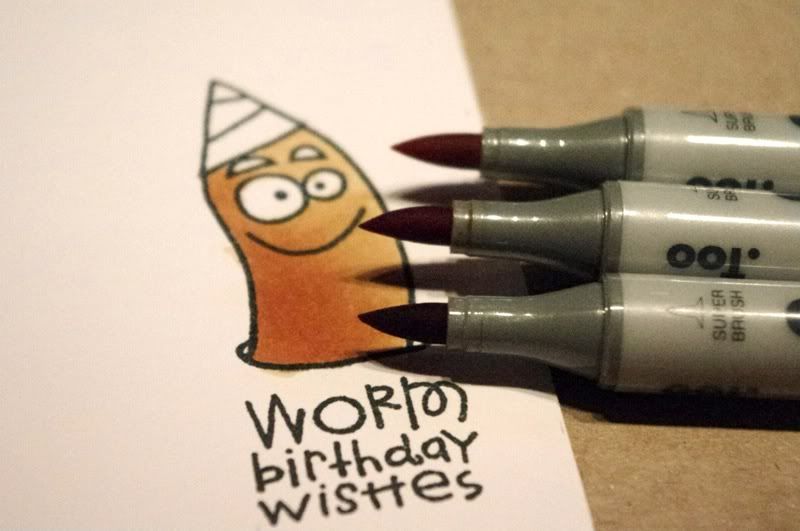

Supplies:
Paper: Bazzill, Authentique
Ink: Memento
Stamps: Paper Smooches
Markers: Copic E31,E33,and E35 for the worm, Hat YG91 & YG95, E79, BG10
Punches: EK Success corner punch
No comments:
Post a Comment