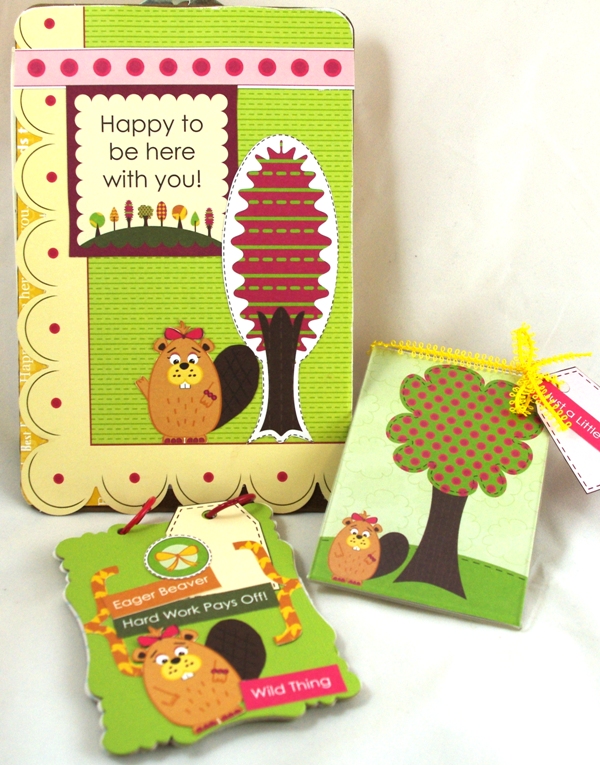
Hi, it's Shelly here, with a quick and easy Step-by-Step for fun additions to your space at work.
Check it out:

Simply collect the following items and then follow along:
1 4x6 acrylic frame
1 Post-It notepad
1.5' of ribbon
1 small clipboard
3 sheets of patterned paper
1 piece of chipboard (you will need two pieces about 4x6" or a bit larger)
1 fun die about 4x6"
2 jump rings
10-15 pages ripped out of a notebook from your son or daughter's backpack
Step 1: Create the Post-It note holder by cutting a piece of patterned paper into a 4x6" section and sliding the piece into the acrylic frame upside down.


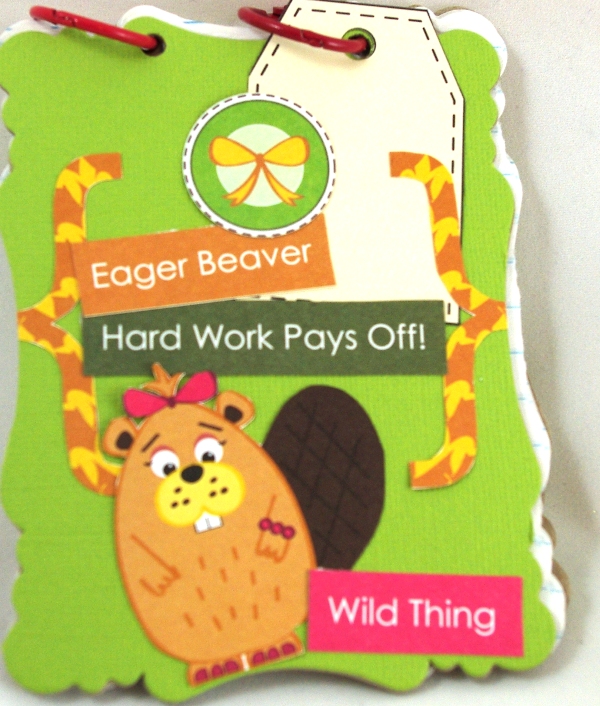
Step 4: Create the clipboard by choosing two matching pieces of patterned paper and tracing around the outside of the clipboard. Cut on the traced lines
Step 5: Place adhesive around the outer edges of the clipboard and place the patterned paper onto both sides of the clipboard. You will have to cut out around the clamp on the front.

.JPG)

Step 8: Cut two 4x6 pieces from patterned paper using the same die again (or by just cutting into a 4x6 shape).
Step 9: The chipboard will be the front and back covers of the notepad. Adhere the patterned papers onto the front and back pieces of the chipboard. Stack the front, inside pages, and back cover and use a Crop-a-Dile to punch holes through all layers.

Step 10: Place the two jump rings in the top (or side) of the notepad. To refill the notepad simply die cut more notebook pages and insert into the notepad.
Step 11: Take the project(s) to work with you tomorrow and enjoy!
Papers: Nikki Sivils Beatrice the Beaver paper and cut-ups, Bazzill
Embellishments: ribbon, jump rings
Other items: Acrylic frame, small clipboard, chipboard from packaging (re-purposed).
No comments:
Post a Comment